I’ve always wanted to visit Japan! Even though I haven’t been able to plan a full country-exploring trip yet, I wanted to leverage a 10-Hour layover in Tokyo on my way back to the U.S. to experience the city. Originally, I was planning to try and find a nice Tokyo spa or onsen to relax at for that time since I was coming back from a jam-packed business trip, but a few people I was traveling with wanted to explore the city.
I’m glad I changed my mind, as it gave me a chance to do some exploring and experience Japanese culture. This is one trip where I didn’t master plan these activities, but I’m outlining what we did and how long it took us so you can best plan your time if you have a layover in Tokyo and want to explore. Check out the video below if you’d like to see a fun snapshot of all I saw!
HOW I SPENT MY 10-HOUR LAYOVER IN TOKYO
Please note that this itinerary is based on a layover at Tokyo’s Haneda Airport. Tokyo is a large city and has two airports. Narita International Airport which is well outside and to the east of the city. Haneda Airport is much closer to the city center (and a better airport to travel through for easy access to explore on a flight layover).
We arrived on a Monday in February. This itinerary is based around a weekday for travel time and cold weather activities. I’m noting the time it took us to get around for reference. Obviously, the conditions may be different on the day you travel.
- HOW I SPENT MY 10-HOUR LAYOVER IN TOKYO
- SCHEDULE
- BAG STORAGE
- ATM
- SUBWAY
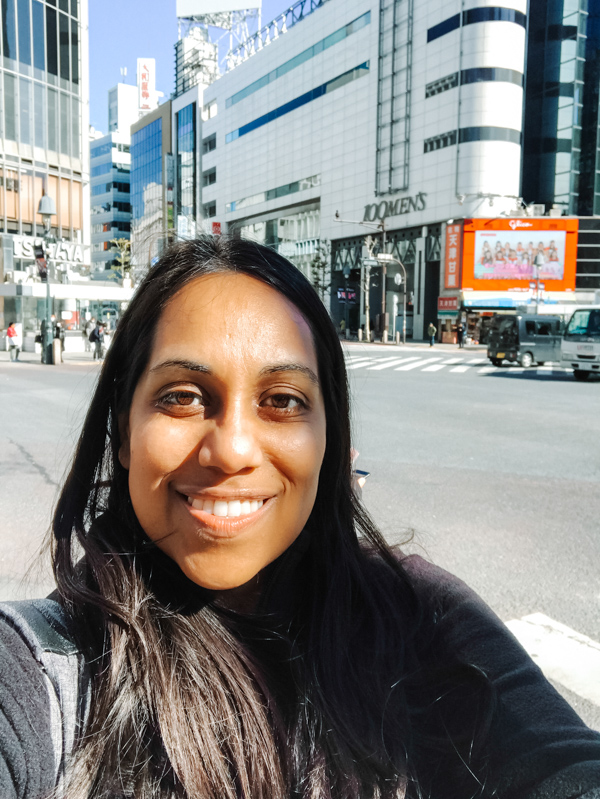
- SHIBUYA CROSSING
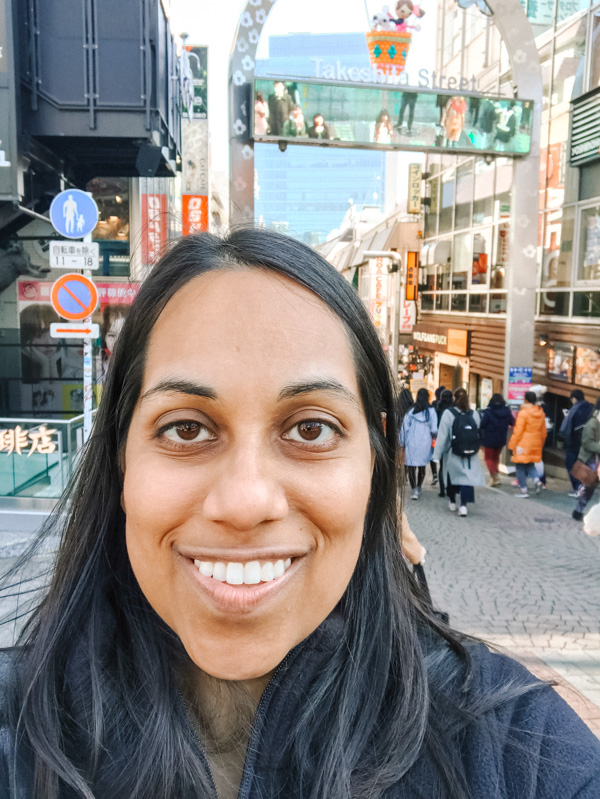
- TAKESHITA STREET IN HARAJUKU
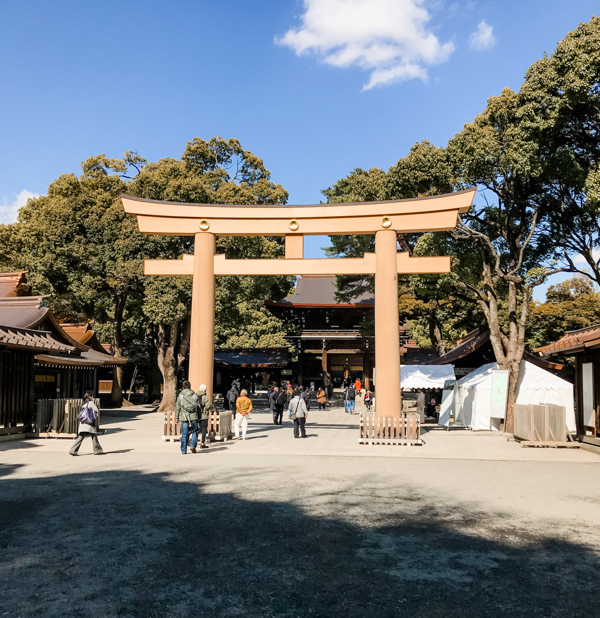
- MEIJI SHRINE
- MENYA MUSASHI RAMEN
- IMPERIAL PALACE
- GARDENS
- TOURS
- DAIMARU
- SUBWAY BACK TO HANEDA AIRPORT
- ADDITIONAL NOTES AND TIPS
- LAYOVER IN TOKYO SCHEDULE OVERVIEW
- ADDITIONAL TOUR OPTIONS
- LINKS
- MAP
SCHEDULE
Below I’ve outlined our schedule for the day along with the tips and tricks I learned along the way.
- Flight arrival 9:45 AM in Tokyo
- Stored Bags
- At Subway by 10:12 AM
- Shibuya Crossing 10: 50 AM
- Walked to Takeshita Street 11:20 AM
- Went to Meiji Jingu 11:46 AM
- Walked to Menya Mushashi Ramen 1:38 PM
- Cab to Imperial Palace 2:44 PM
- Cab to Daimaru 3:37 PM
- Subway back to Haneda Airport 4:30 PM
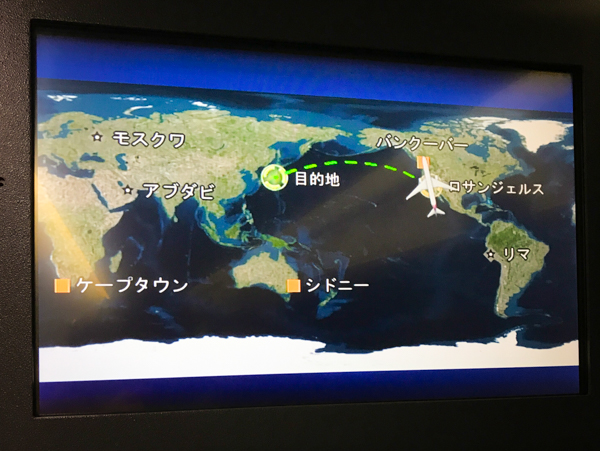
9:45 AM Arrival at Tokyo Haneda Airport from Singapore
Our flight arrives from Singapore (which we boarded at 2:15 AM) and got little sleep on the plane. But we don’t care – we came here to explore! Our next flight leaves at 7:30 PM, so we are going to see as much of the city as we can.
BAG STORAGE
Cost: $4-10 USD (400-1200 yen)
The first thing you’ll want to do is store any carry-on luggage you don’t wish to bring sight-seeing. I always travel with a carry-on shoulder bag and a small suitcase with a change of clothes, after my horror story of losing my bags on my trip to Paris. However, no one wants to be toting around a suitcase while exploring a city. So thanks to some early research, I found that I could pay for day storage of my carry-on bag at Haneda Airport Temporary Baggage Storage.
They have these bag storage areas in all three airport terminals for a fee, based on the size of your bag. At the time of this writing, the fee ranges from roughly $4-10 USD depending on the bag size.
Also, not all locations are open 24 hours, so make sure to check your flight arrival and departure time to be sure they are open. These tend to fill up quickly – when we returned to the airport later in the afternoon there was a notice saying storage was full. So, it’s best to get your bags in as early in the day as possible.
ATM
Be sure to take out some local currency if you don’t already have some. Many of the places we visited in Tokyo and cabs would only accept cash and no credit cards.
The Haneda airport website is super helpful and has a list of ATM locations here.
SUBWAY
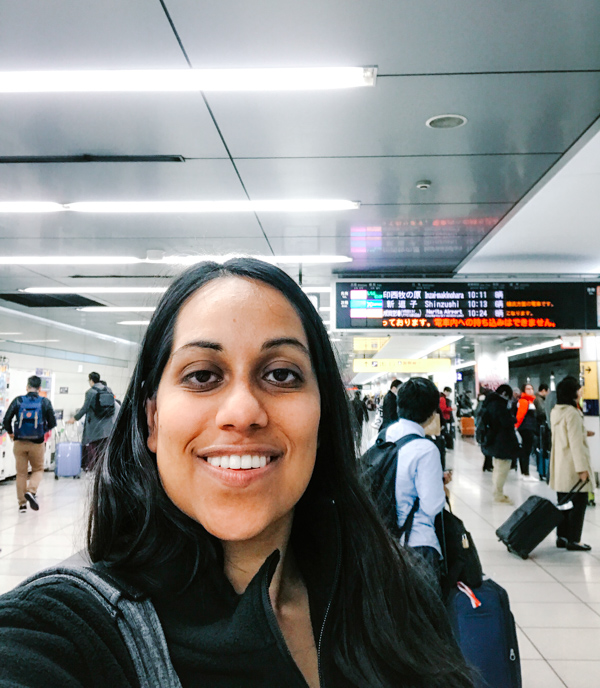
The easiest way to get around Tokyo is by subway, and many of the stops are announced in Japanese and English. I also found it helpful to follow the route we were taking in Google Maps on my phone, as I am more of a visual person and this is easier for me to navigate.
We took the Keikyu Airport Line from Haneda and transferred at Shinagawa to get to our first stop of the day. If you have a tight layover in Tokyo, it might be faster to use taxis.
SHIBUYA CROSSING
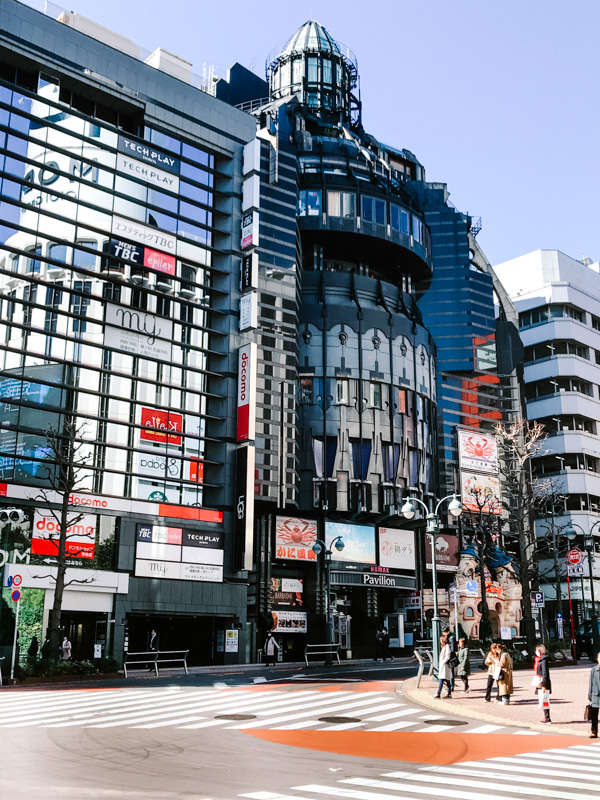

10:55 AM Shibuya City, Tokyo, Japan
Travel Time: Approx 40 minutes
Cost: Free
If you don’t know anything about this place, Shibuya Crossing is one of the busiest crosswalks in the world and is considered Japan’s version of Times Square. It’s buzzing with activity, and there are lots of cool buildings and architecture to look at.
Shibuya Crossing is also very close to other popular areas Takeshita Street or the Meiji Shrine, so it’s easy to make a quick stop here on the way.
TAKESHITA STREET IN HARAJUKU
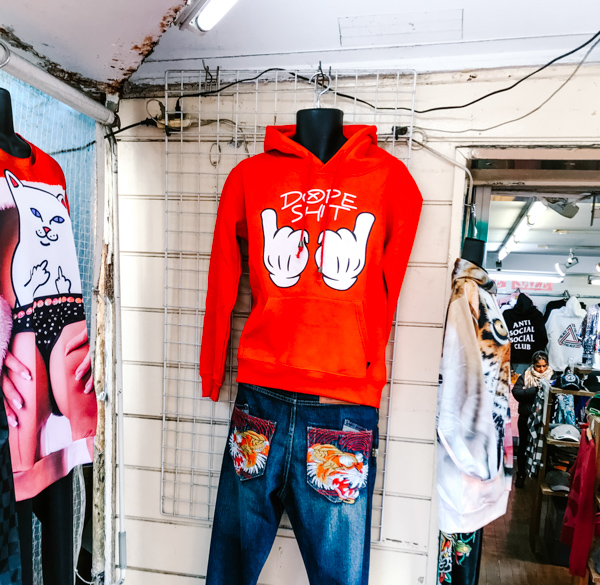
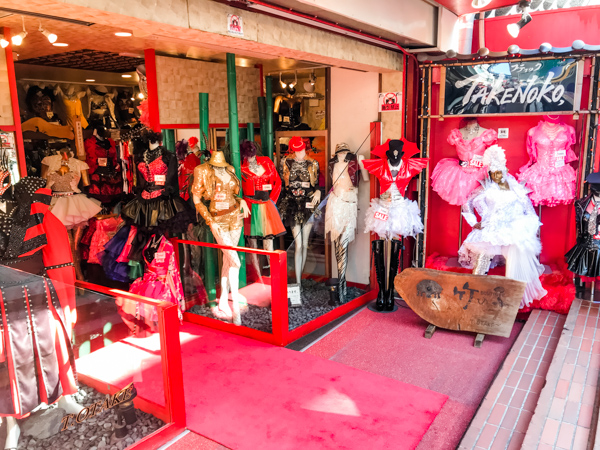
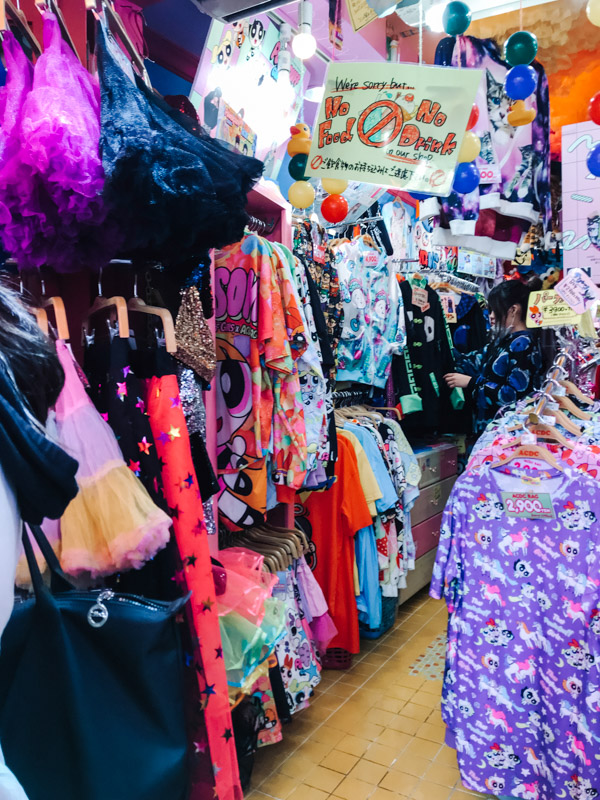
11:20 AM Shibuya City, Tokyo, Japan
Cost: Free
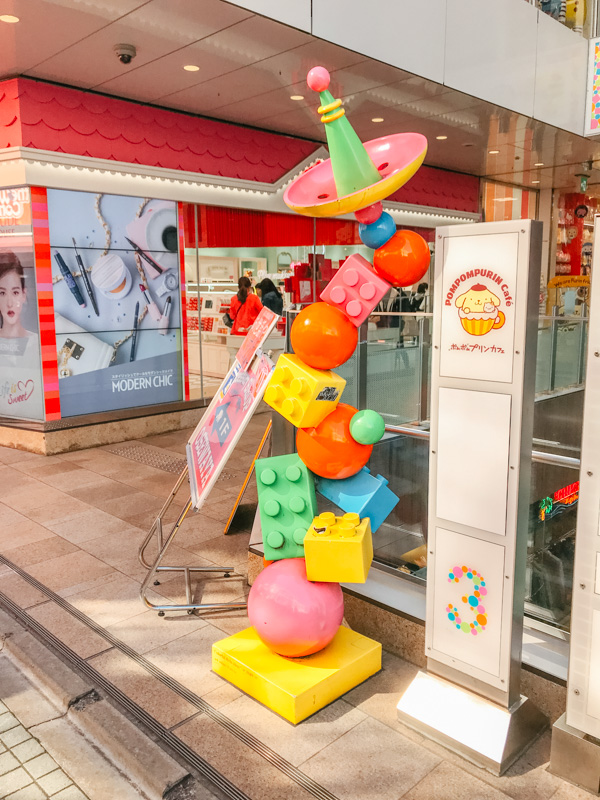
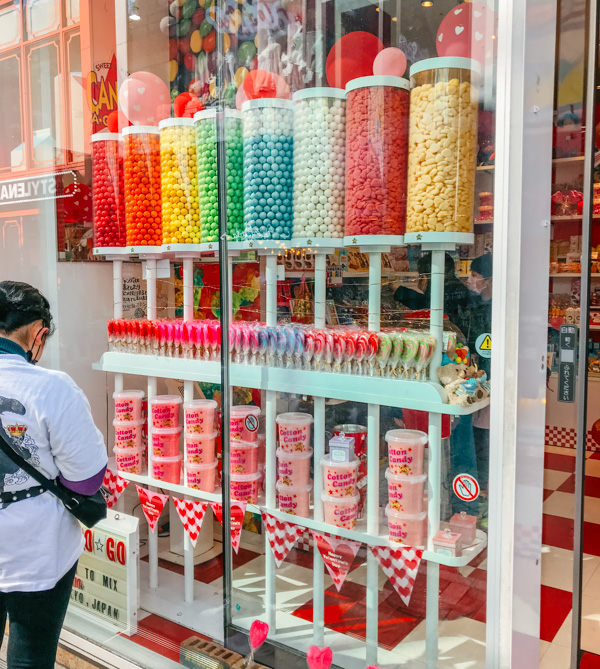
From Shibuya Crossing we took a short walk to Tokyo’s famed Takeshita Street in the Harajuku District. Here you can find lots of colorful trendy shops, fashion boutiques, and food stalls. As a designer, this street offers serious eye candy and I loved snapping photos of all the color, architecture, fashion designs, and food.
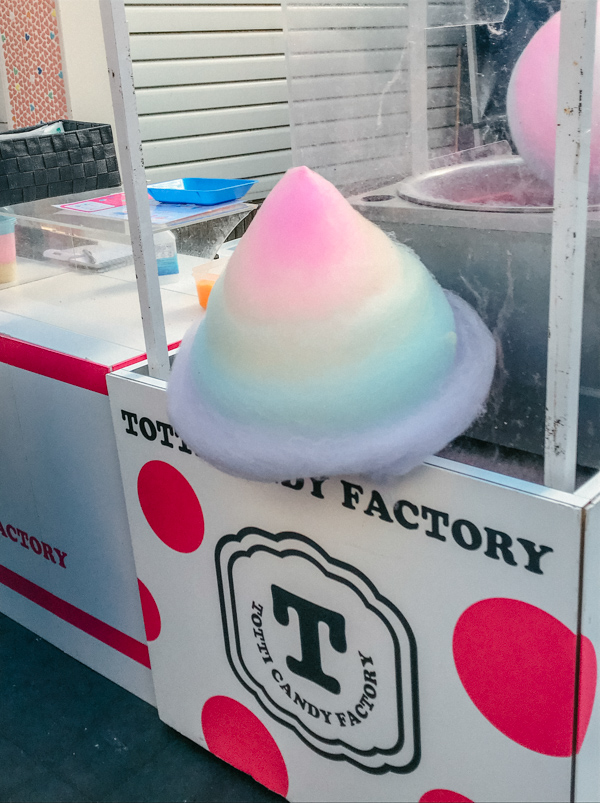
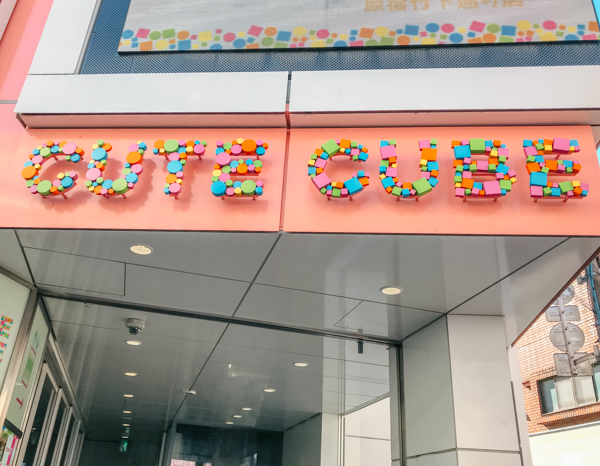
Some cool things to sample or explore here are the rainbow cotton candy from Totti Candy Factory and visit Cute Cube, a mini-shopping mall with 10 restaurants and shops.
If you’re a foodie and shopping lover, you could spend the majority of your day here and skip the rest of the itinerary. We wanted to explore as much of the city as possible on our layover in Tokyo. We did a quick stop here, and then went on to explore our next destination.
MEIJI SHRINE

11:46 AM Shibuya City, Tokyo, Japan
Cost: Free Entry (with additional fees of 500 yen for visiting the inner garden)
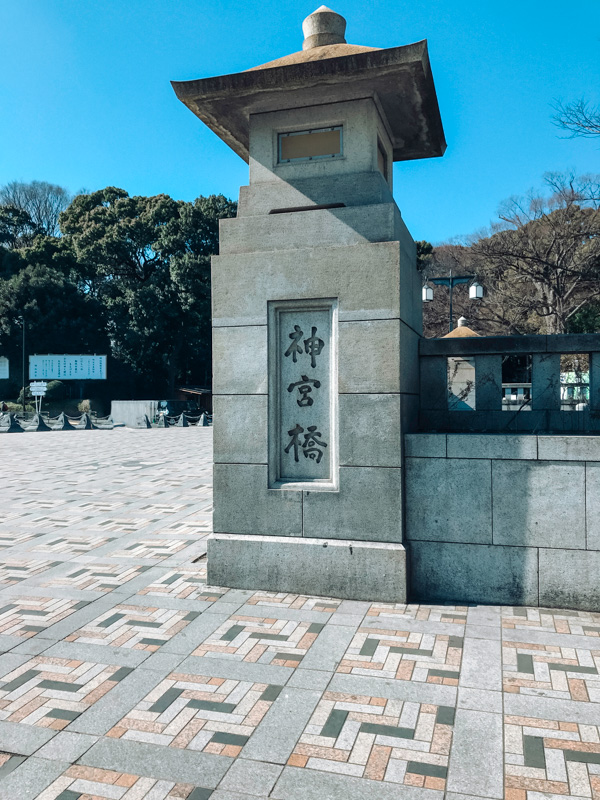
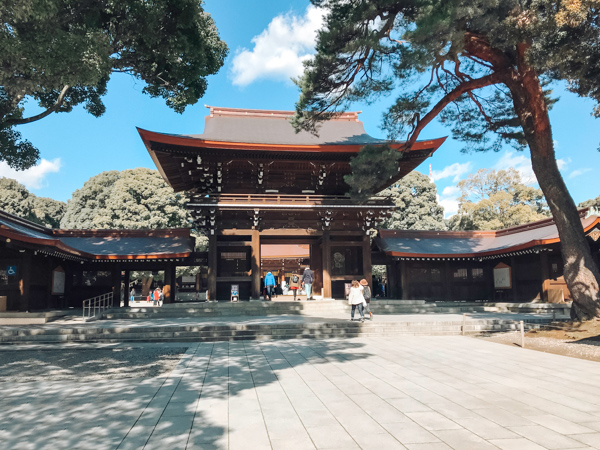
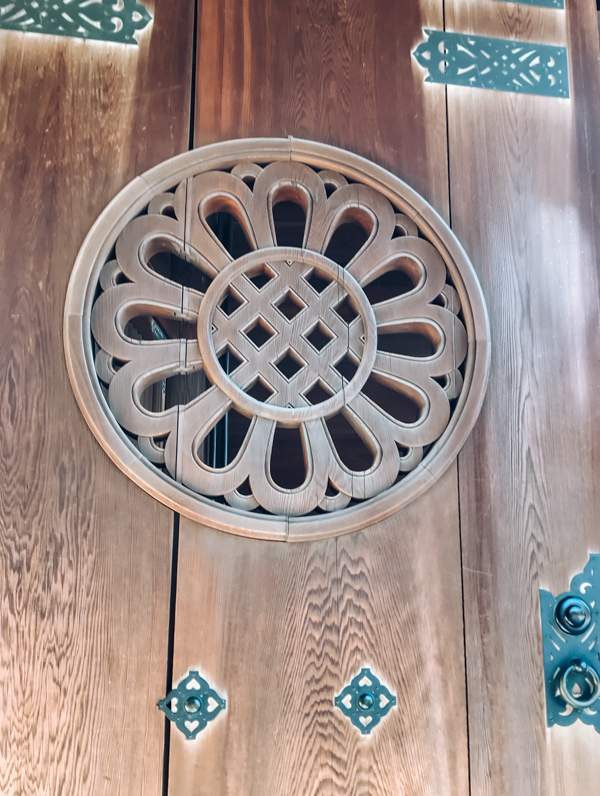
Located a few blocks to the west, the Meiji Shrine is a short walk from Takeshita Street. This beautiful Shinto shrine was dedicated to Emperor Meiji, who passed away in 1912.
We spent the bulk of our time here exploring the grounds. The main Shrine is about a 10-minute walk from the South entrance near the Harajuku Station. Along the way, you will come across the painted sake barrels and the entrance to the inner garden.
Visiting the shrine is free, but if you want to visit the inner garden there is a fee of 500 yen. It’s worth checking out as the garden itself is a tranquil retreat from the busy city. The architecture and landscaping are exquisite. Additionally, there is a wishing well called Kiyomasa’s well that you can walk down to and make wishes.
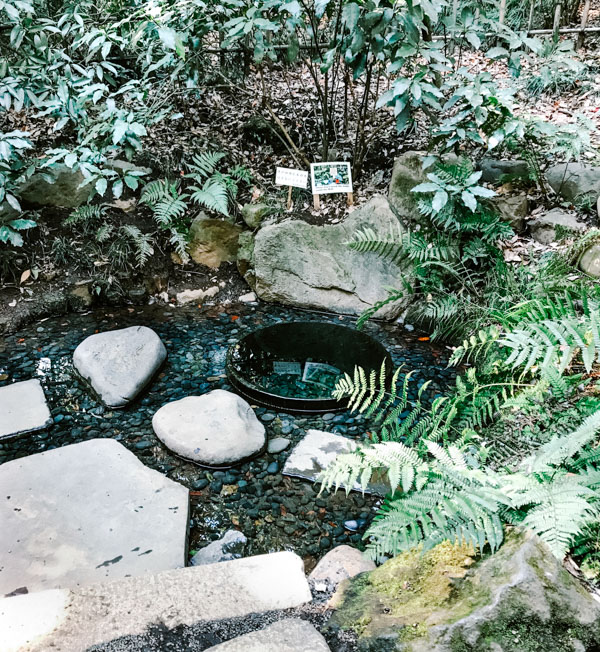
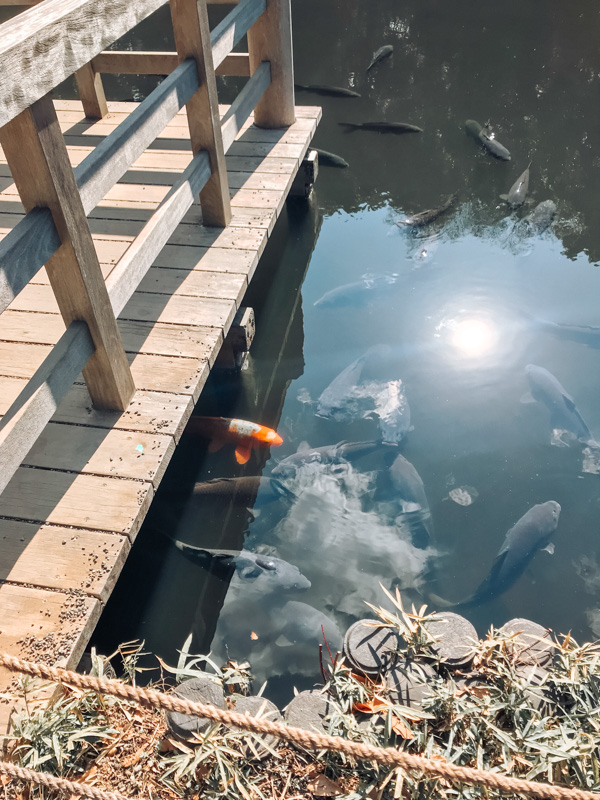
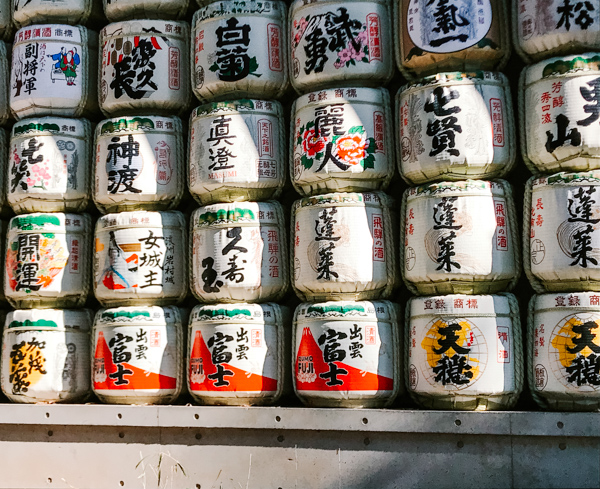
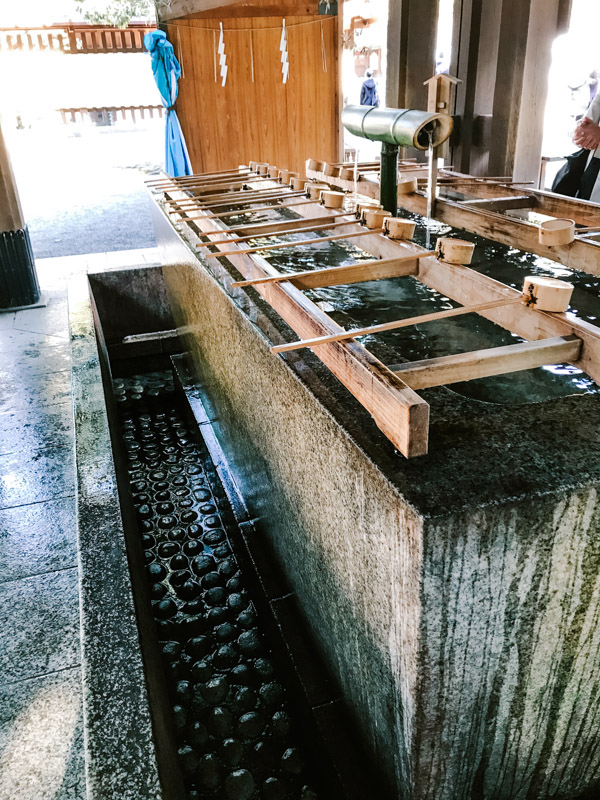
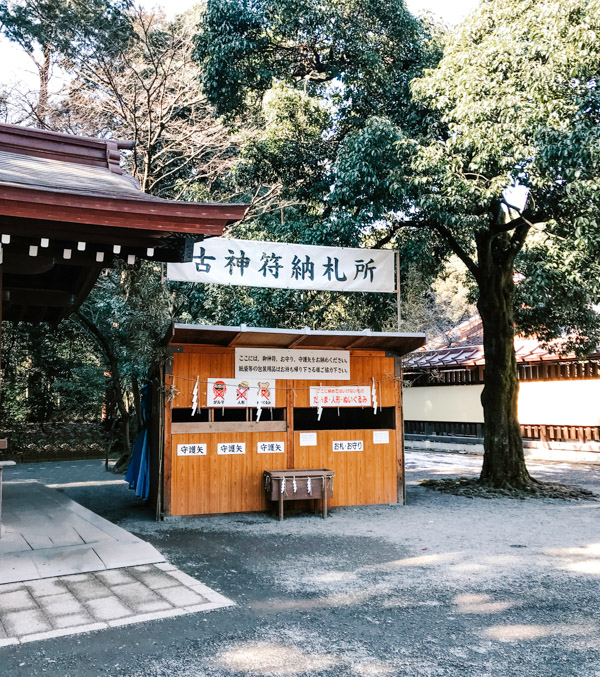
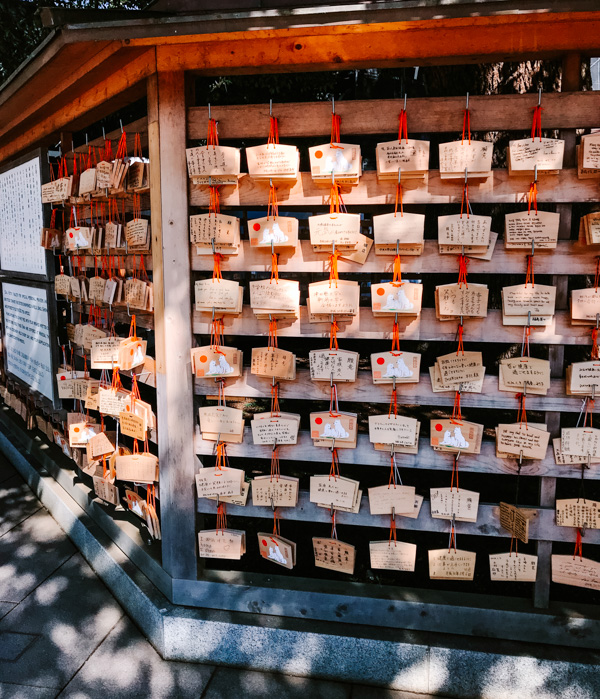
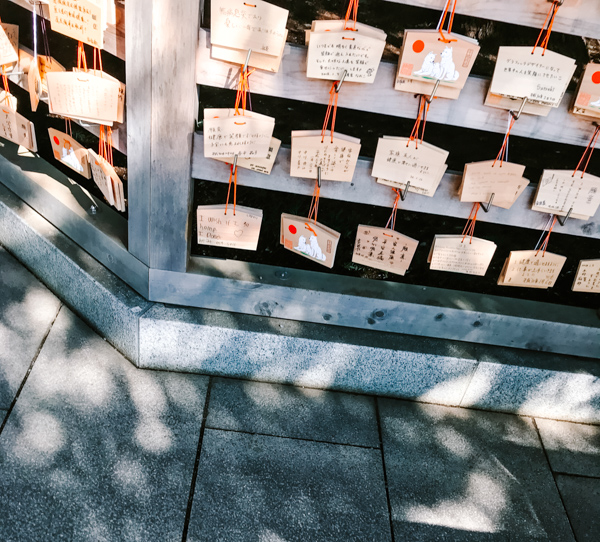
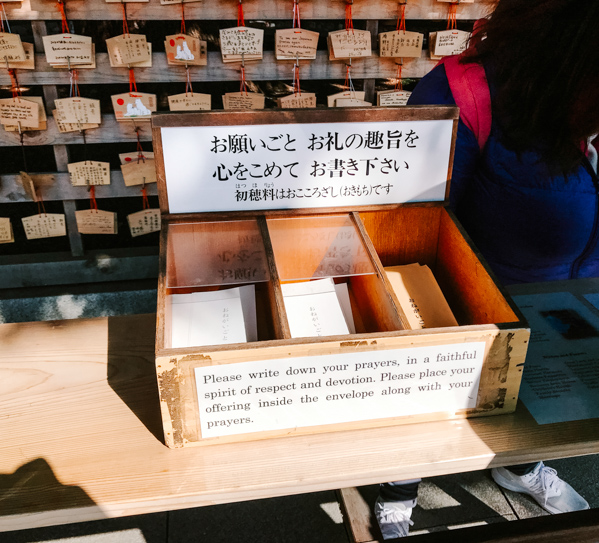
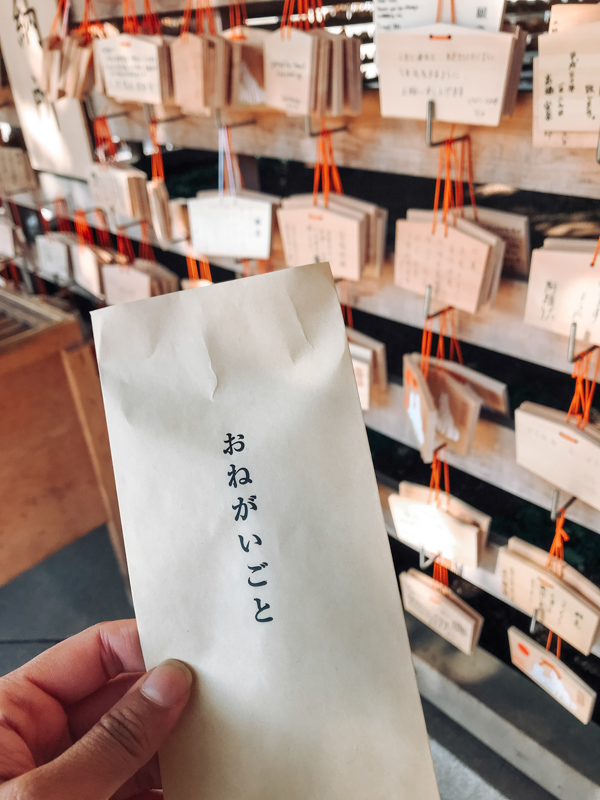
Once you get to the main shrine you can explore and participate in various Shinto activities. This includes making offerings, purchasing wooden tablets (Ema) to write your wishes, or writing your wishes in an envelope called a Kiganbun.
MENYA MUSASHI RAMEN
1:38 PM Shinjuku City, Tokyo, Japan
Cost: 1100+ yen ($10+ USD)
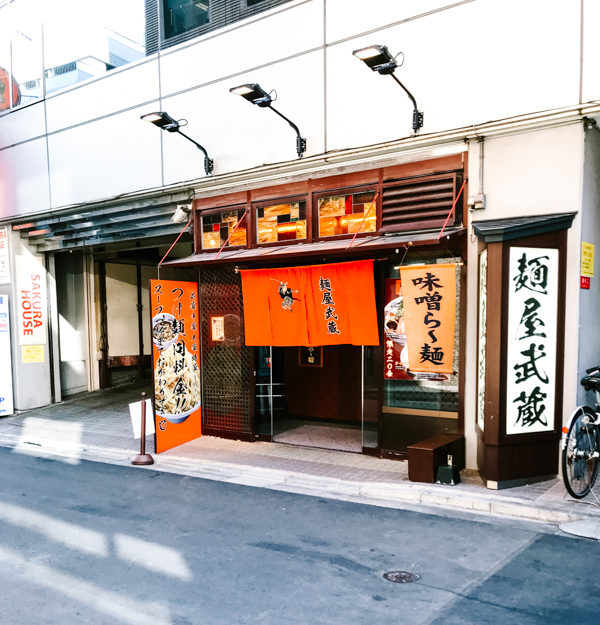
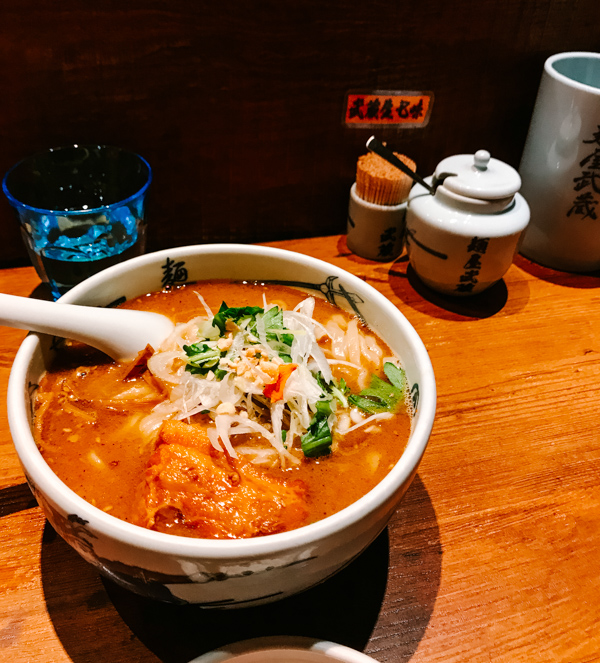
By this point in the day, we were pretty famished from walking all over the shrine and it was time for lunch. One of the people I was traveling with wanted to visit a cult-favorite ramen house in Shinjuku, and it did not disappoint! We walked about 40 minutes northward (taking in the sights along the way) to Menya Musashi. On a cold February day, it was really nice to get some hot soup.
Dining at Menya Musashi is an experience in itself. They have a cash vending machine where you place your order, and an open kitchen where you watch your order being made. This location is known for its limited-edition and seasonal ramen. They have a bar-style layout, where you take a seat at the counter and watch the chefs make your order. The ramen itself was delicious, and it was nice to experience some traditional cuisine. This restaurant is very popular with locals and tourists alike. It was quite crowded when we arrived and we had to wait a while for the seats.
At this point we were starting to run short on time on our layover in Tokyo. We decided it would be best to take cabs to our remaining two destinations. Afterwards, we would hop on the subway line closest to our last stop for the return back to the airport.
IMPERIAL PALACE
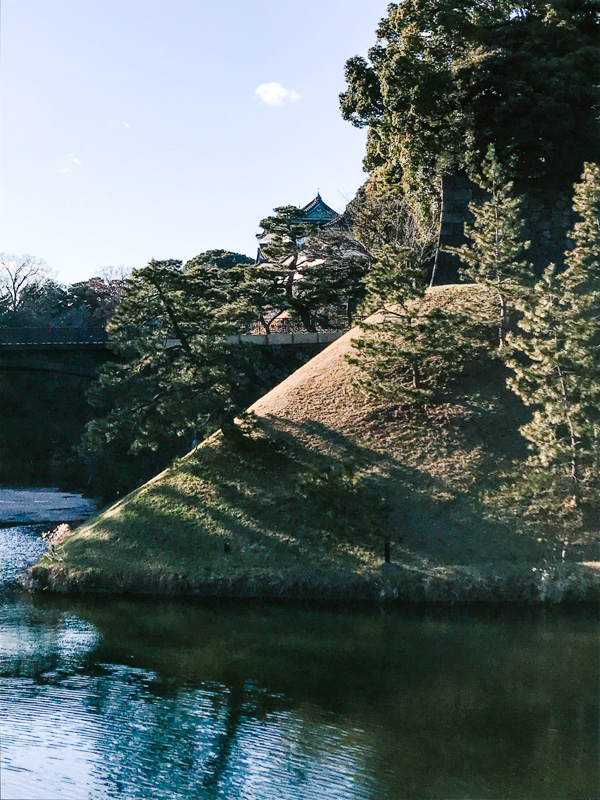
2:44 PM Chiyoda City, Tokyo, Japan
Cost: Free
Next, we wanted to visit the Imperial Palace. We took a cab (cash only) from our lunch spot. Because of the language barrier, the cab driver wasn’t understanding when we were saying we wanted to go to the “Imperial Palace”. I pulled out my phone to show him on Google Maps where we wanted to go. Then he understood from looking at the map, so keep this in mind as you are navigating around Tokyo in cabs.
The Imperial Palace is the current home to the Emperor of Japan and the rest of the Imperial Family. It’s located in a large park area in the Chiyoda area of Tokyo, about a 10-minute walk from the Tokyo Station, should you decide to travel by subway.
GARDENS
The beautifully maintained gardens have gorgeous seasonal flowers in bloom depending on the time of year that you visit. The inner grounds of the palace are off-limits for most of the year, but tourists can visit the parks and gardens for free.
The park area is divided into three sections: the East Garden, Kitanomaru Koen Park, and the Kokyo Gaien National Garden. Free guided tours are offered in English and Japanese at 10:00 AM and 1:30 PM every day except on Sundays and Mondays, but you will need to register in advance with the Imperial Household Agency.
TOURS
Alternatively, you can register for a same-day tour at the Kikyoman Gate if space is available. The tours last approximately 75 minutes and accept about 500 guests each day, with 300 spots reserved for same-day reservations. it’s best to arrive early if you want to reserve a spot on the tour, but there is also a guided audio tour app should you not get a spot and want to wander around at your own pace. Note that the East Gardens are also closed on Mondays and Fridays.
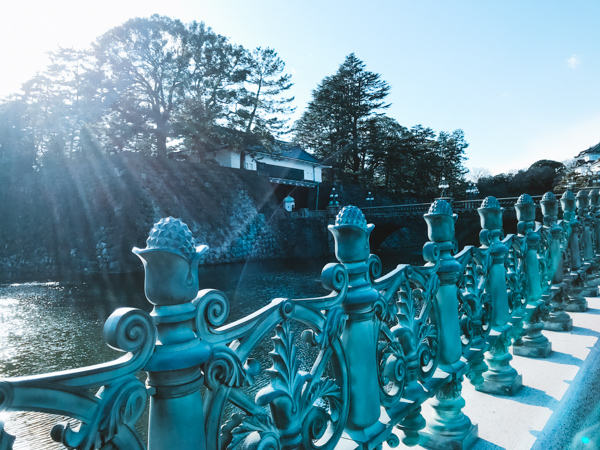
The day of our layover was a Monday in Japan, so we arrived at the Imperial Palace with the bad news that we couldn’t take a tour, or visit the East Gardens as they were closed. Instead, we walked the grounds and snapped some photos around the Kokyo Gaien National Garden, and of the Niju-bashi bridge. It’s definitely in your best interests to plan ahead if this is a spot you want to visit, had we know the gardens would be closed we could have better planned out our time.
Since this plan was a bust we still had some time to kill on our layover in Tokyo before needing to head back to the airport. We decided to switch gears and take a taxi to a nearby high-end Japanese department store.
DAIMARU
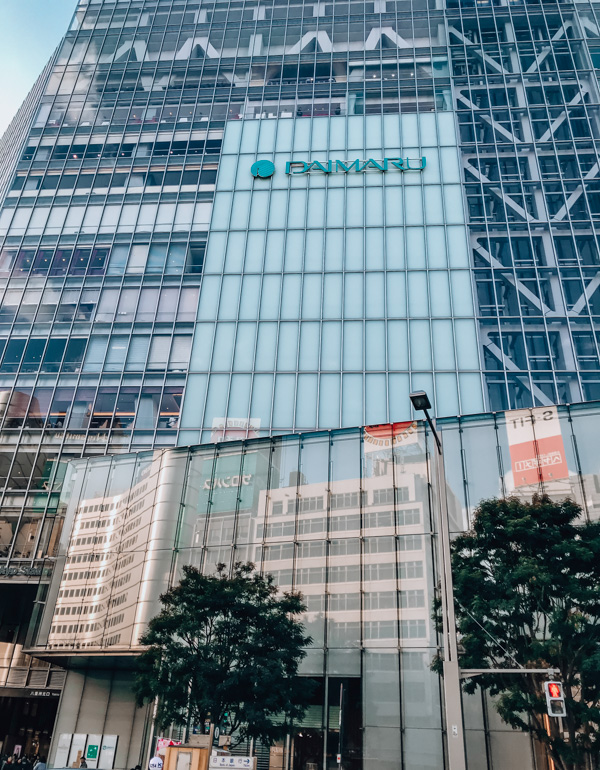
3:37 PM Chiyoda City, Tokyo, Japan
Cost: Free to enter, spend $$ on food and goods at your leisure
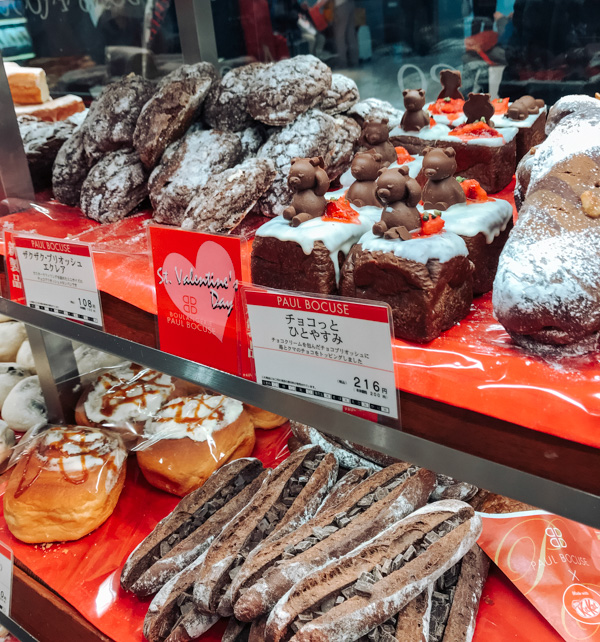
Daimaru is one of the largest department stores in Central Tokyo, and we came to check out its popular basement food hall. There are roughly 50 different kinds of Japanese and Western chocolates and sweets on the first floor, and over 600 different kinds of freshly-made, boxed lunches on the basement floor. It’s fun to walk through the food hall, taste samples, and watch the artistry behind the meals being created because the presentation is impeccable.
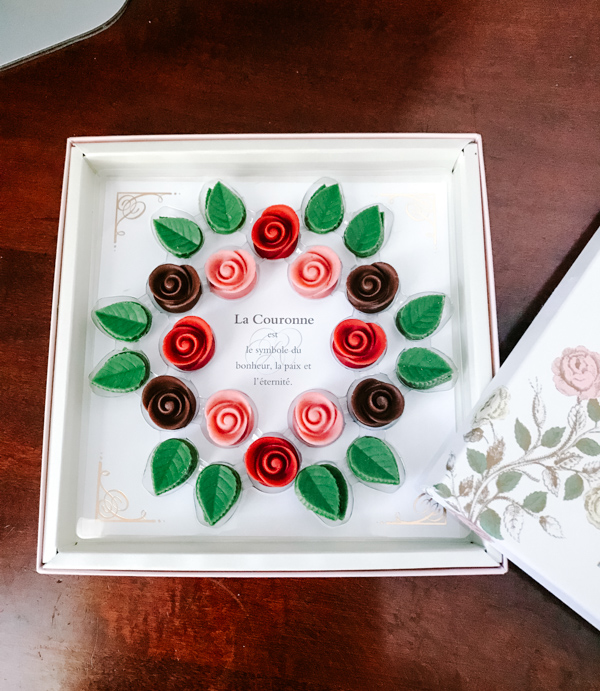
Since it was close to Valentine’s day when we visited, they had lots of Valentine’s treats. I found some gorgeous rose-shaped French chocolates that I purchased as a yummy souvenir for myself.
(I don’t know why I go all the way to Japan to buy French chocolates – this tends to happen to me when I travel).
By this point in the day, we were dog-tired and ready to head back to the airport as it was getting close to crunch time. My pedometer says I logged 32,347 steps walking around Tokyo on this day!
SUBWAY BACK TO HANEDA AIRPORT
Tokyo Station, Chiyoda City, Tokyo, Japan
Time: 4:00 PM
Travel Time: 30-45 mins
We walked to the Tokyo Station and took the subway back to Haneda Airport for our flight back to the U.S. It was scheduled for a 7:30 PM departure. Since we didn’t have to check bags, the process was relatively easy. It was easy to retrieve our bags from Haneda Temporary Storage.
I hope you found this guide to spending a long layover in Tokyo helpful!
Below is a summary of the most helpful info and links from this post. Check out more guides on my travel page or shop my travel-inspired art prints here.
ADDITIONAL NOTES AND TIPS
- While in Japan, try to sample a green tea or wasabi Kit Kat bar – you can usually find them at the airport. They are so unique and different from the American Kit Kats we are used to!
- Bring cash! Not all places will take American cards.
LAYOVER IN TOKYO SCHEDULE OVERVIEW
- Flight arrival 9:45 AM in Tokyo
- Stored Bags
- At Subway by 10:12 AM
- Shibuya Crossing 10: 50 AM
- Walked to Takeshita Street 11:20 AM
- Went to Meiji Jingu 11:46 AM
- Walked to Menya Mushashi Ramen 1:38 PM
- Cab to Imperial Palace 2:44 PM
- Cab to Daimaru 3:37 PM
- Subway back to Haneda Airport 4:30 PM
ADDITIONAL TOUR OPTIONS
If you want a more structured tour for your short layover time in Tokyo, I’d recommend checking out Get Your Guide. They have lots of short Tokyo walking tours, Japanese food tours, and custom private tour options you can browse to see if they fit into your schedule. I have used Get Your Guide in other cities and the tours I’ve gone on have been great. They also have a GPS map in their app which is super helpful because it points you to the tour meeting place in real time.
I’ve hand-picked some tour options below if you want a more structured tour or a tour guide. You. can see a couple of them below or click here for my full Tokyo wishlist to see all the tours and activities I bookmarked. (As a creative I love a great art class, so added the creative workshops on origami, Japanese calligraphy and paper making I saw to this list as well).
LINKS
Airport:
Food:
Landmarks:
- Cute Cube
- Meiji Shrine
- Japanese Imperial Palace
- Imperial Palace Flower Calendar
- Imperial Palace Audio Guide App
Tours:
MAP
Disclosure: Please note that some of the links above may be affiliate links, and I may make a small commission if you make a purchase, at no additional cost to you. I only recommend products and services I use.


Thank you for this post, it was super helpful to know what to expect for my layover.
You’re so welcome! Have an amazing trip!
What a great itinerary. Thanks for sharing all your planning! Incredibly helpful!! You’re a doll & I love your adventurous spirit! Sleep later!!!
You’re so welcome Bridget! Glad you find it helpful. Sleep can definitely wait when there is adventure to be had. 🙂
Best article I have seen so far for Tokyo layover!
Thank you so much!
Your detailed itinerary was super helpful in planning. Thanks to your blog, had no trouble spending over 8 hours roaming around Tokyo!
I’m so glad to hear it helped you! It means so much that you came back to my blog to tell me. So much care & planning goes into these posts & it is so great to know they are appreciated. Thank you!
You should know you are awesome 🙂
this was SO helpful, thank you!
You’re so welcome!